
How Long Does It Take to Put Braces On?
One of the most common — and most searched — questions about orthodontic treatment is how long does it take to put braces on.
In most cases, the appointment lasts between 60 and 90 minutes. For some patients, particularly adults or those needing ceramic or more complex braces, the process can take up to two hours.
While the timeframe is fairly predictable, it isn’t identical for everyone. The length of the appointment depends on several factors, including the type of braces used, how many teeth are being bonded, and whether any preparatory steps are required beforehand. Understanding what actually happens during that time helps remove uncertainty and makes the experience far less intimidating.
Why Braces Are Recommended
Braces are used to correct misalignment of the teeth and jaws, clinically referred to as malocclusion. While many people associate braces with cosmetic improvement, their purpose goes much deeper than appearance alone.
Orthodontic treatment may be recommended to address:
- Crowded or overlapping teeth
- Gaps or spacing that trap food
- Overbites, underbites, or crossbites
- Open bites that affect speech or chewing
- Uneven tooth wear caused by a bite imbalance
When teeth do not meet correctly, everyday functions such as chewing and cleaning become less efficient. Over time, this can contribute to enamel wear, gum irritation, and increased difficulty maintaining good oral hygiene. Braces help reposition teeth into healthier, more functional positions that are easier to clean and maintain long-term.
Types of Braces — Does the Type Affect How Long It Takes to Get Them Put On?
Yes. The type of orthodontic appliance chosen plays a direct role in how long it takes to get braces put on.
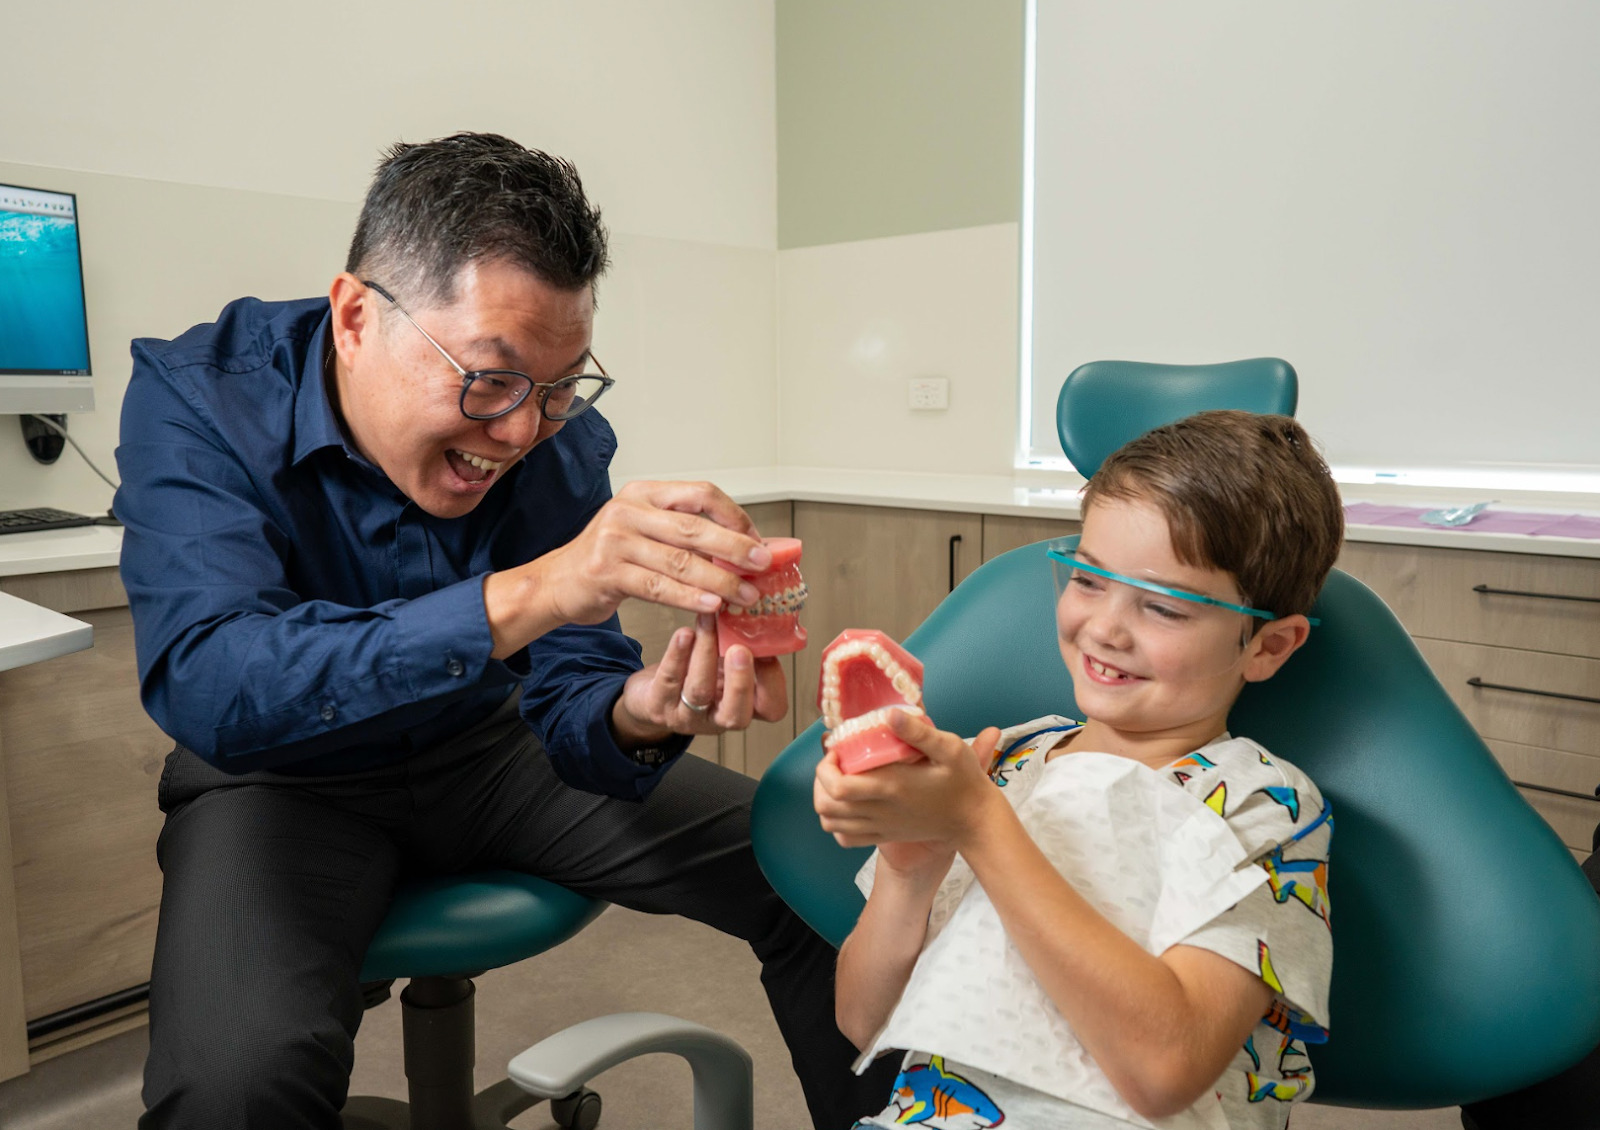
Metal Braces
Metal braces are the most commonly used option and are generally the quickest to place. The brackets are straightforward to position, and bonding tends to be efficient, particularly for children and teenagers.
Ceramic Braces
Ceramic braces work in the same way as metal braces but require more precision during placement due to their tooth-coloured appearance. This extra care often adds time to the appointment.
Self-Ligating Braces
Self-ligating systems use built-in clips instead of elastic ties. While the initial fitting may take slightly longer, these braces may reduce friction during treatment and simplify adjustments later.
Lingual Braces
Lingual braces are bonded to the inner surfaces of the teeth. Because access is more limited and placement is highly customised, these systems usually require longer appointments and may be fitted across multiple visits.
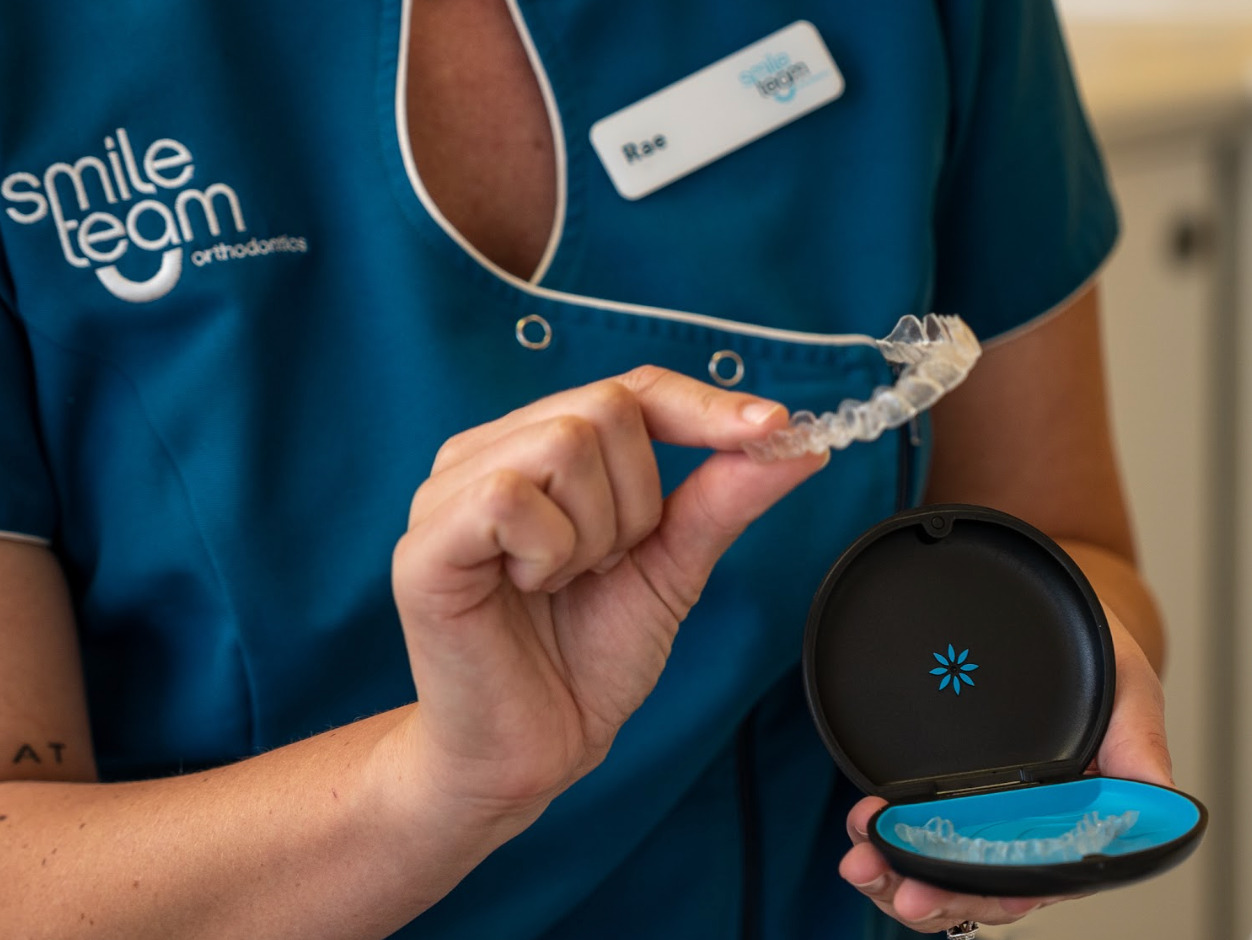
Clear Aligners
Clear aligners are not bonded to the teeth and therefore are not “put on” in the same way as braces. Their fitting process is entirely different and does not involve bracket bonding.
Before Braces Are Put On: Planning Comes First
Before any brackets are attached, orthodontic treatment begins with careful assessment and planning. This stage ensures teeth move safely and efficiently once braces are applied.
Preparatory steps may include:
- Digital scans or impressions of the teeth
- X-rays to assess root position and jaw structure
- Clinical photographs
- Bite and jaw alignment evaluation
These records allow the orthodontist to determine where each bracket should be placed and how forces will be applied over time. Good planning reduces the likelihood of bracket repositioning later, which in turn keeps treatment on track.
Step-by-Step: How Braces Are Put On
Step 1: Cleaning and Preparing the Teeth
The appointment begins with a thorough cleaning to remove plaque or residue that could interfere with bonding. Teeth are then dried and isolated to ensure a strong adhesive bond.
Step 2: Applying the Bonding Agent
A special dental adhesive is applied to each tooth. This material is cured using a blue LED light, which hardens the adhesive within seconds. This step is painless and does not involve drilling or injections.
Step 3: Placing the Brackets
Each bracket is positioned carefully on the tooth surface. This is one of the most time-consuming parts of the appointment because accuracy matters — even small placement differences can influence how teeth move during treatment.
Step 4: Securing the Archwire
Once the brackets are in place, an archwire is threaded through them and secured. This wire provides the gentle, continuous pressure that guides teeth into alignment.
Step 5: Bands or Spacers (If Needed)
Some patients require bands around molars or spacers between teeth, particularly when bite correction is involved. These may be placed during the appointment or at a prior visit.
Does It Hurt When Braces Are Being Put On?
Most people do not experience pain while braces are being put on. The procedure itself is non-invasive and typically feels more like pressure than discomfort.
Mild soreness usually develops a few hours later as the teeth begin responding to the applied force. This sensation is expected and temporary.
The First 24–48 Hours After Getting Braces
Once braces are fitted, it’s normal to experience:
- Tooth tenderness when biting
- Sensitivity to pressure
- Minor irritation to the cheeks or lips
These symptoms usually peak within the first two days and gradually settle as the mouth adapts. Soft foods and simple pain relief are usually enough to manage early discomfort.
Daily Care and Oral Hygiene With Braces
Braces create additional surfaces where food particles and plaque can easily collect, making daily cleaning especially important throughout treatment.
A consistent routine should include:
- Brushing at least twice a day, focusing on the brackets and the gumline
- Using interdental brushes or floss threaders to clean between teeth and under wires
- Rinsing with a fluoride mouthwash to improve enamel strength
When plaque is not removed effectively, it can lead to enamel weakening around brackets, gum irritation, and an increased risk of cavities during treatment. Maintaining good oral hygiene helps protect both your teeth and the final outcome of your braces.
Follow-Up Appointments: Why Adjustments Matter
Orthodontic adjustments are typically scheduled every 4 to 6 weeks. These visits allow the orthodontist to:
- Monitor how the teeth are moving
- Adjust wire tension as needed
- Prevent unwanted shifts or delays
Teeth move through a process of gradual bone remodelling. Applying too much force or adjusting too quickly can slow progress rather than speed it up. Regular reviews keep treatment controlled and predictable.
Common Issues After Braces Are Fitted
Minor Issues You Can Manage
- Food stuck around brackets
- Mild cheek irritation
- Lost elastic ties
When to Contact Your Orthodontist
- A loose or detached bracket
- A wire causing injury
- Ongoing pain that does not improve
Addressing issues early helps avoid unnecessary delays in treatment.
FAQs: Time, Comfort, and Practical Concerns
How long does it take to put braces on?
For most patients, the appointment lasts 60 to 90 minutes. More complex cases may take closer to two hours.
How long does braces take to put on for adults?
Adults may require slightly longer appointments due to denser bone and the need for more precise bracket placement.
How long does it take to get braces put on if spacers are needed?
Spacers are usually placed a few days before the main appointment rather than on the same day.
Is anaesthetic required?
No, because the process is not invasive.
Final Thoughts: Taking the First Step With Confidence
Getting braces put on is a well-planned, controlled process designed to set the foundation for successful orthodontic treatment. While the appointment itself is relatively short, the precision involved plays a key role in how efficiently and comfortably teeth move over time.
Understanding how long it takes to put braces on, what happens during each stage, and how to care for them afterwards allows patients to approach treatment with confidence and realistic expectations.
If you’re considering orthodontic treatment and want personalised guidance, our team at Smile Team can walk you through your options and what to expect at every stage. You can also book an assessment to have your teeth and bite evaluated and receive a tailored treatment plan suited to your needs.